Project Zomboid: How to Board Up Windows
Securing your shelter in the zombie-infested world of Project Zomboid is crucial. While finding a safe haven is the first step, fortifying it against the undead hordes is a whole different ball game. This guide focuses on a fundamental defensive measure: barricading windows.
How to Barricade Windows in Project Zomboid
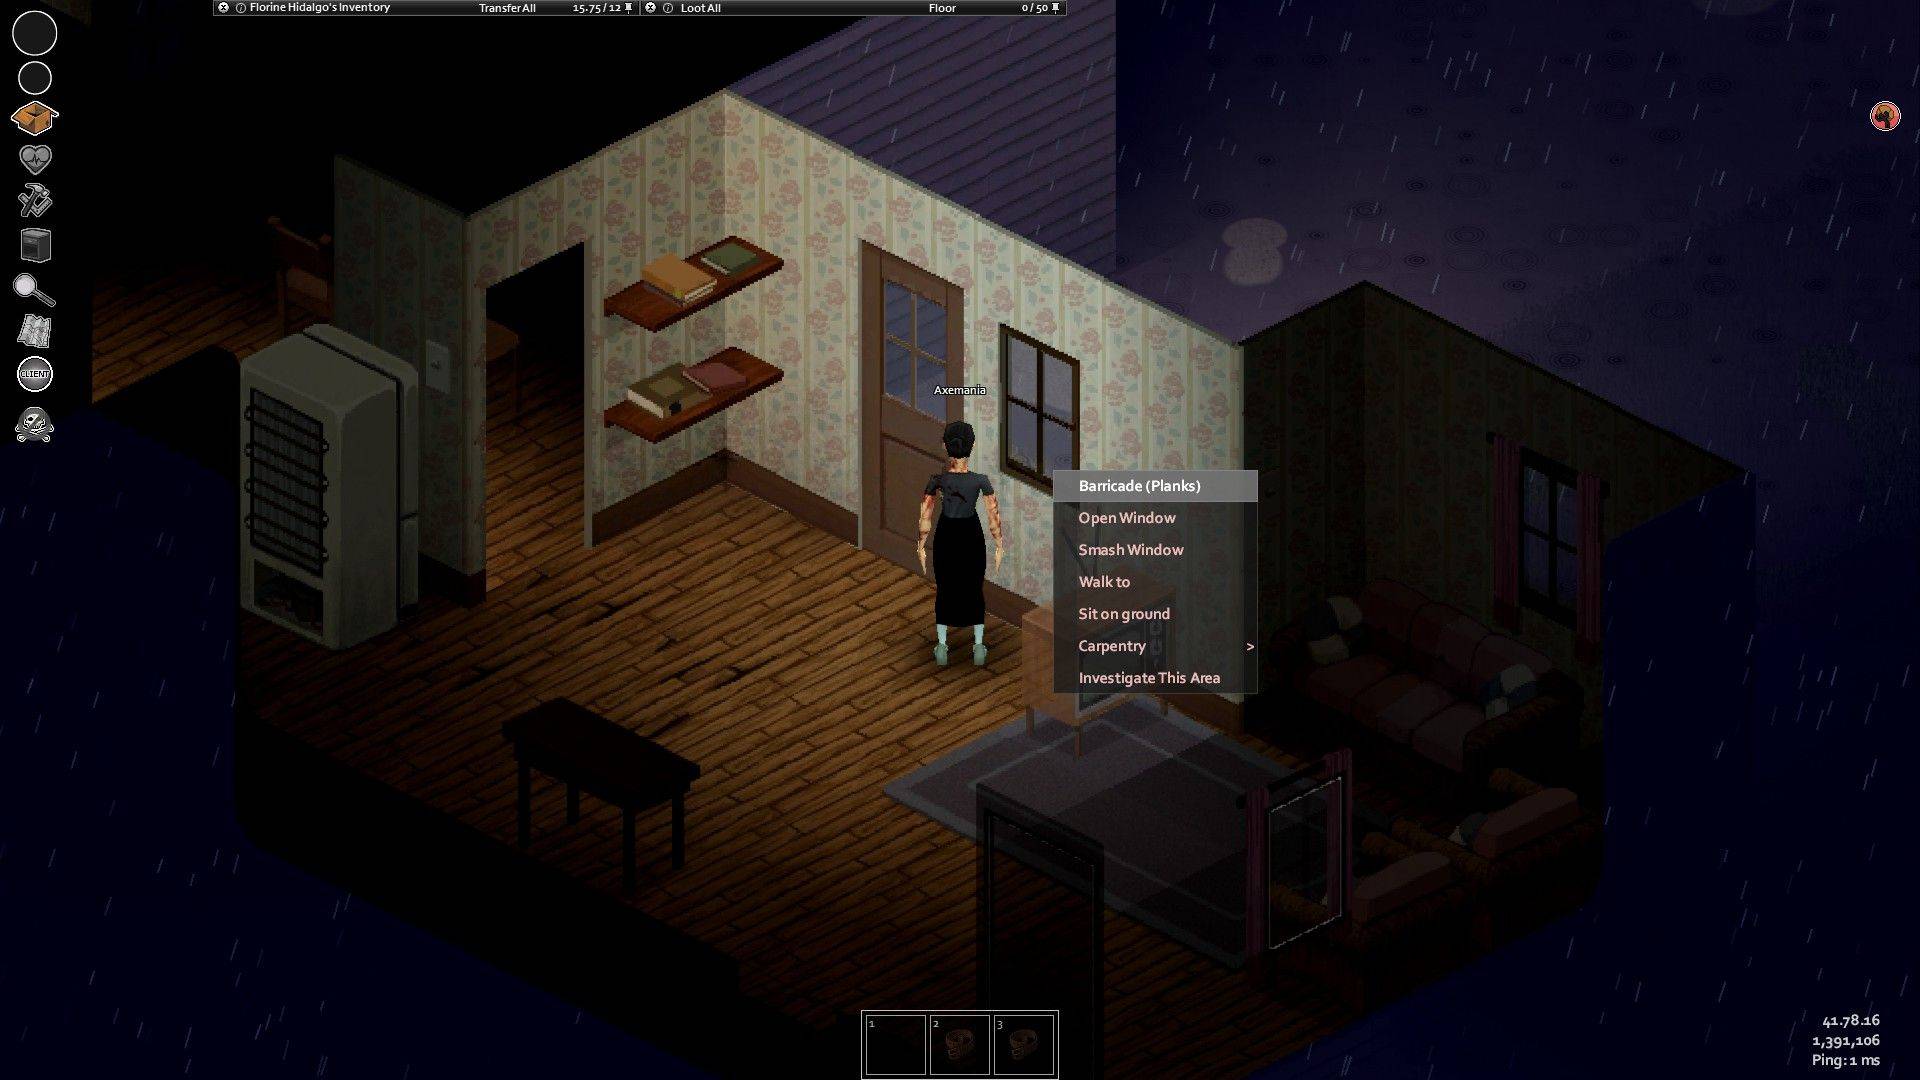 To effectively board up your windows, you'll need specific items: a wooden plank, a hammer, and four nails. Once you've gathered these essential supplies, simply right-click the target window. Your character will automatically begin securing the plank. Each window supports up to four planks for enhanced protection.
Locating the necessary materials is key. Hammers and nails are typically found in expected locations – toolboxes, garages, sheds, and closets. Wooden planks are commonly found on construction sites, or you can salvage them by dismantling wooden furniture (shelves, chairs, etc.) in a pinch. Administrators can utilize the "/additem" command for convenient item spawning.
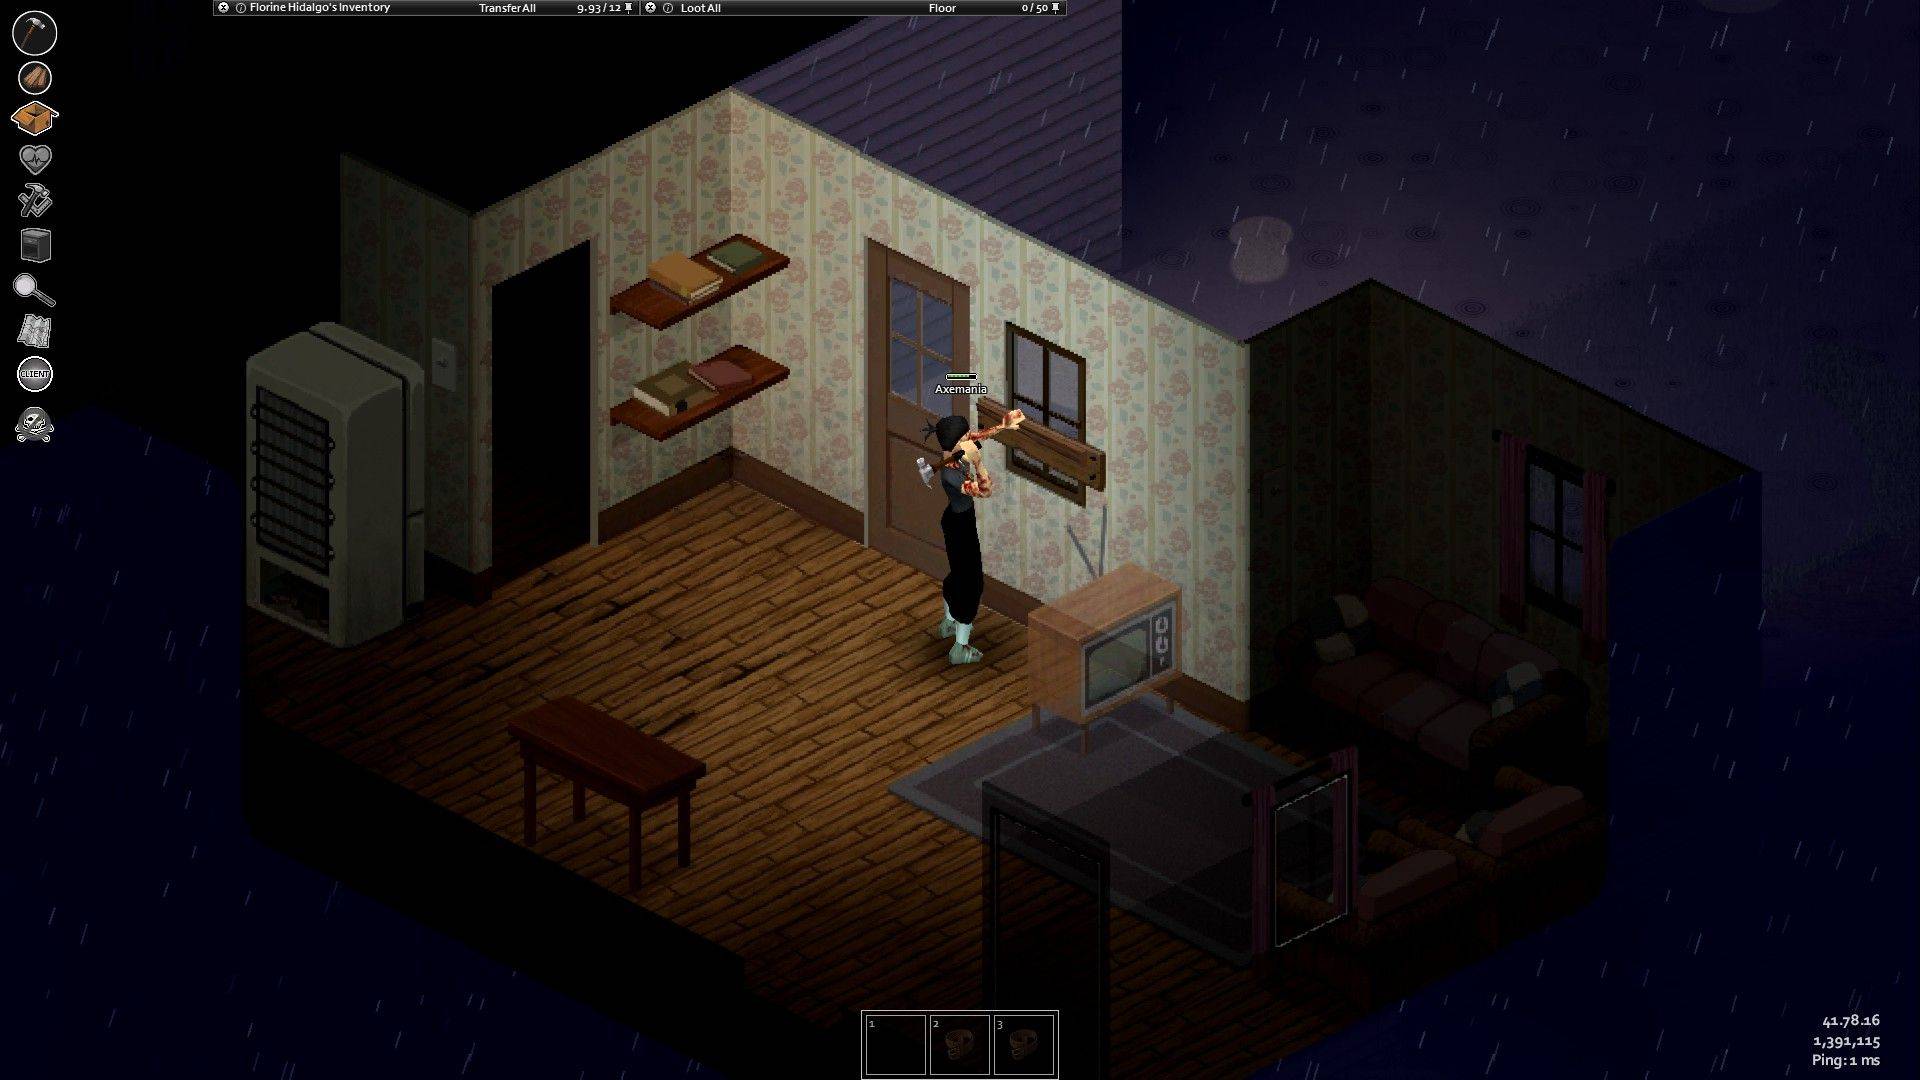 Barricaded windows offer significantly improved protection against zombie breaches compared to standard windows. The more planks you add, the more time it takes for the undead to break through. To remove planks, right-click the boards and select "Remove." Note that you'll need a claw hammer or crowbar to do so.
It's important to note that larger furniture items (bookshelves, refrigerators) are ineffective as window barriers. Players and zombies will simply pass through them. However, knowing how to move furniture remains a useful skill for interior arrangement.
While wooden planks provide basic protection, stronger barricades can be constructed using metal bars or sheets. However, this requires sufficient Metalworking skill.


- 1 Pokemon Go’s first Community Day of 2025 will feature Sprigaito Jan 05,2025
- 2 Holiday Thief Arrives in Seekers Notes Dec 26,2024
- 3 Watcher of Realms Is Dropping New Heroes and Skins This Thanksgiving and Black Friday! Dec 30,2024
- 4 Jujutsu Kaisen Phantom Parade: Tier List Update for 2024 Dec 28,2024
- 5 How To Find and Beat the Storm King in LEGO Fortnite Jan 05,2025
- 6 PUBG Mobile's Championship Finale Nears Jan 09,2025
- 7 Goddess Of Victory: Nikke Is Dropping a New Year’s Update and Collabs with Evangelion and Stellar Blade Soon Jan 04,2025
- 8 Roblox Forsaken Characters Tier List 2025 Feb 14,2025

![LeMOMnade: Family Squeeze! – Version 1.1.1 [mtrellex]](https://img.3xbz.com/uploads/38/1719569762667e8d62c486e.jpg)


![My Cute Roommate 2 – New Version 1.0 Extra [Astaros3D]](https://img.3xbz.com/uploads/38/1719606486667f1cd652f1a.jpg)
-
Mastering the Art of Digital Tools
A total of 10
-
Hidden Gems: Unexpectedly Useful Other Apps
A total of 10
-
Top Free Adventure Necessary Games for Android
A total of 4